
How Our Glass Baubles Are Crafted
Tools Used
Blowing The Glass Baubles
Shaping The Glass
Remove Glass From The Blowpipe
Add The Calp
Finishing
Glass Blowing
Glass blowing is an ancient art that has evolved over time to the more modern traditional glass blowing methods.
Handblown glass has been a technique used for at least 2000 years when the Romans started really industrialising and modernising tools.
It was used to create objects such as bowls, vases, and other household items.
While very simplistic in it’s early forms, the technique was later rediscovered and went through many advancements in the 13th century and has been used ever since to create beautiful works of art.
Glass blowing has grown to become a complex art that takes years of practice to master. The results, however, are stunning.
Glassblowing is an art that's thousands of years old but still continues to evolve.
Here at Mytri Designs, a lot of our skilled artisans use methods passed down through generations that have evolved alongside more modern techniques of glass making.

How Our Glass Baubles Are Made
Here at Mytri Designs, we work with traditional glass makers to create our glass designs.
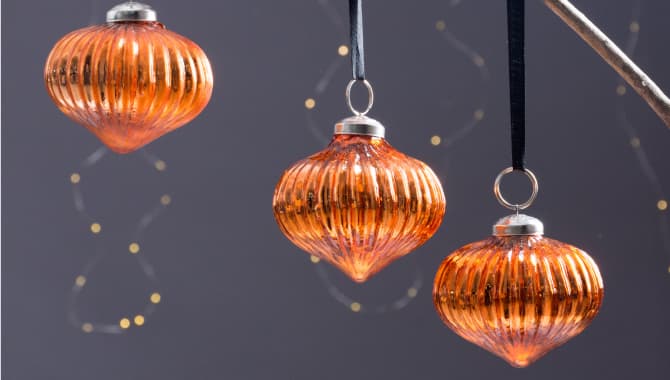
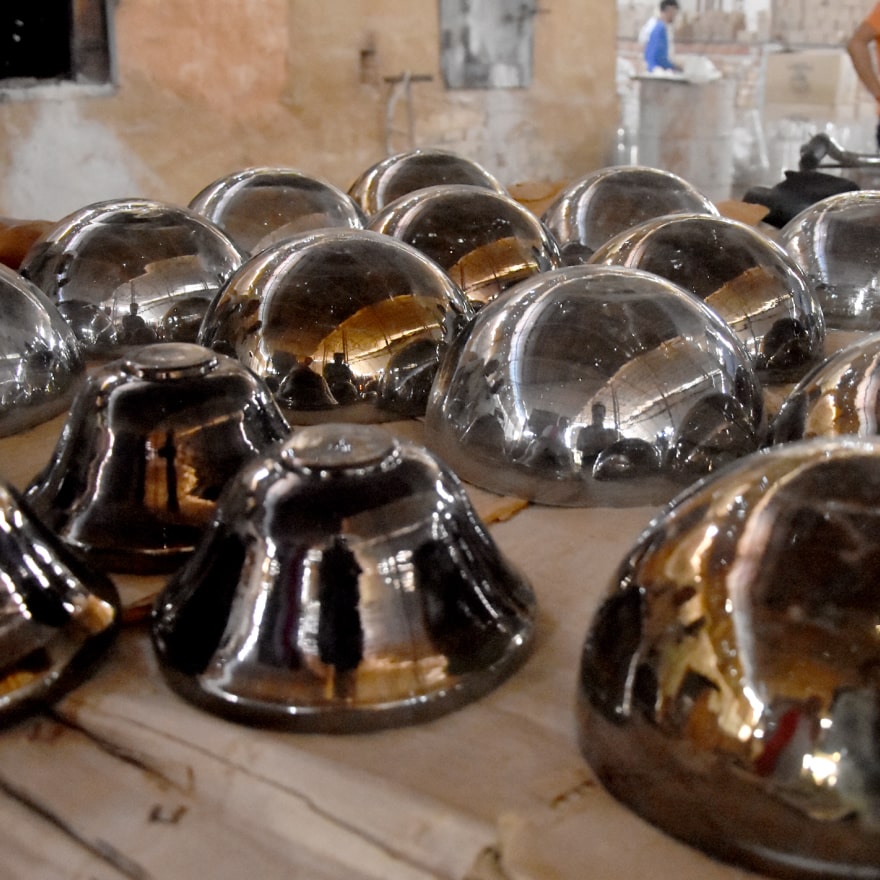
One collection that always been a stand out is our glass baubles.
Each of our glass baubles are handblown from scratch using the mold-blowing technique by these expert artisans.
Let's take a look at the mold-blowing technique used and equipment needed to create these beautiful pieces of art, and the artisans who have made it their life’s work.
Tools Needed
Firstly the right equipment is gathered to prepare for each piece to be blown.
Mold glass-blowing equipment nowadays consists of a furnace, a marvering table, a workbench, and a few various hand tools.
The tools used are an annealer, jacks, mold, frit, an ornament holder, and most importantly a blowpipe.
These tools are used to cool, cut, smooth, and add detail to the glass.
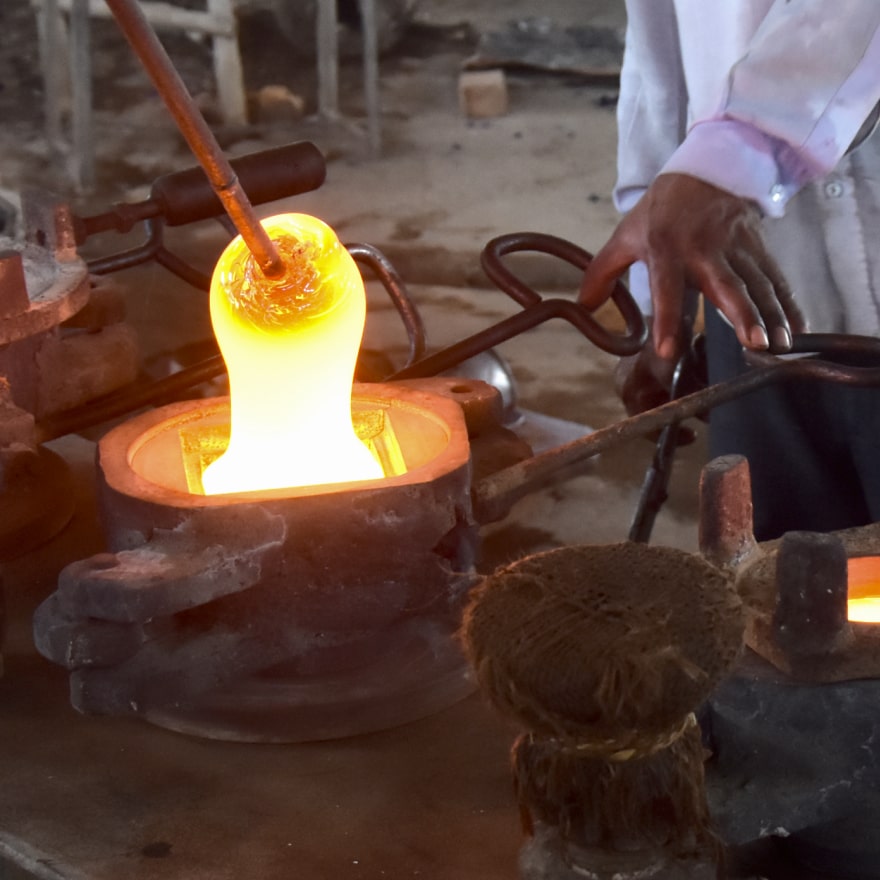
The furnace is used to heat the glass to a malleable state.
The marvering table is where the glass is shaped.
Blowing The Glass Baubles:
Once the equipment is ready to go its time for the glassmith to get some glass and a blowpipe. We try to use recycled glass here wherever possible.
The blowpipe is heated then rolled 2-3 times in glass to get the base of the ornament.
Once the first roll of glass has melted down in the furnace, the glassmith will then roll the blowpipe into coloured glass that provides the decoration of the ornament.
This coloured glass is the “frit” we mentioned earlier, and generally it is just one colour used here.
The roll of frit is then melted down over the glass in the furnace at the same temperature as the glass before moving to the next step.
Shaping The Glass
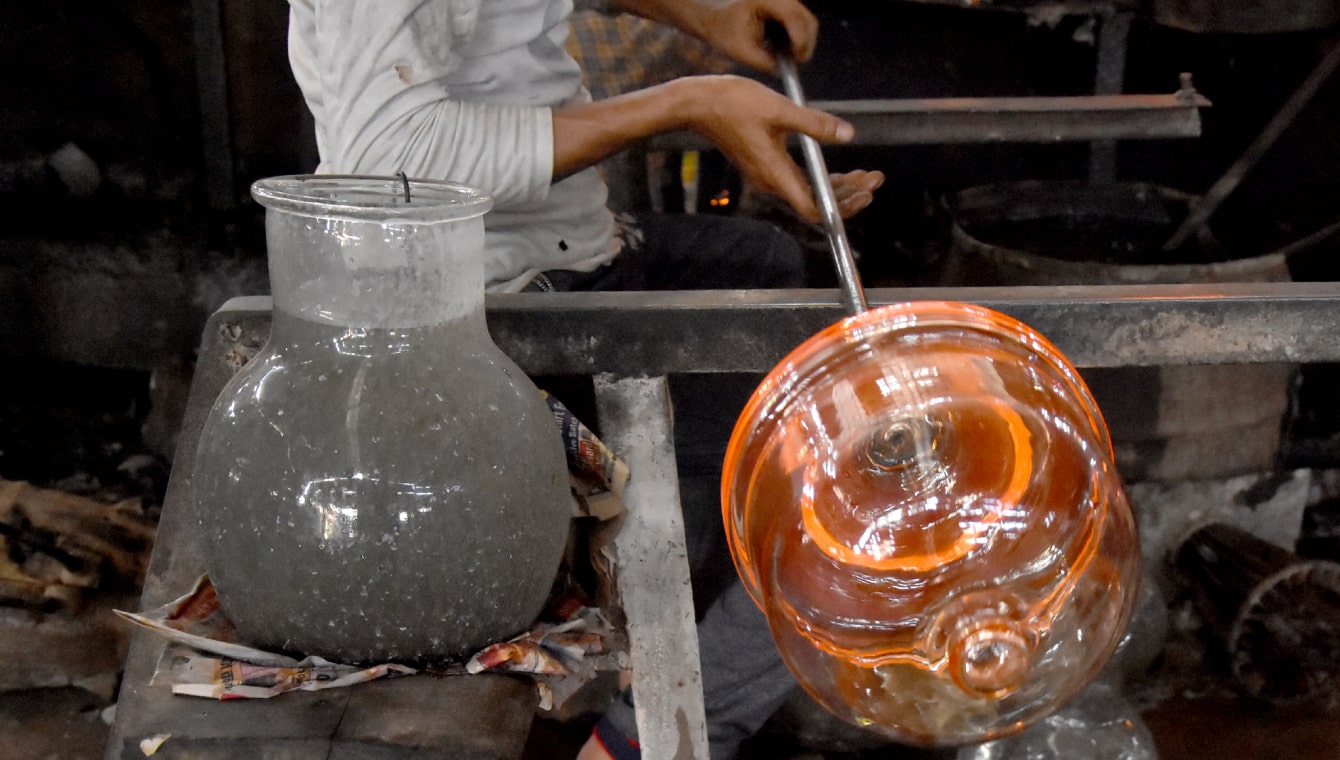
Now that the glass has melted on with a frit around it, it's time for the glassmith to put a bubble in it.
The glassmith takes the pipe to the marvering table and rolls it across the table to level it out.
Then they will stretch the glass by hanging it vertically from the pipe, and once they are happy with the length they will take it back to the marvering table and level it out once again.
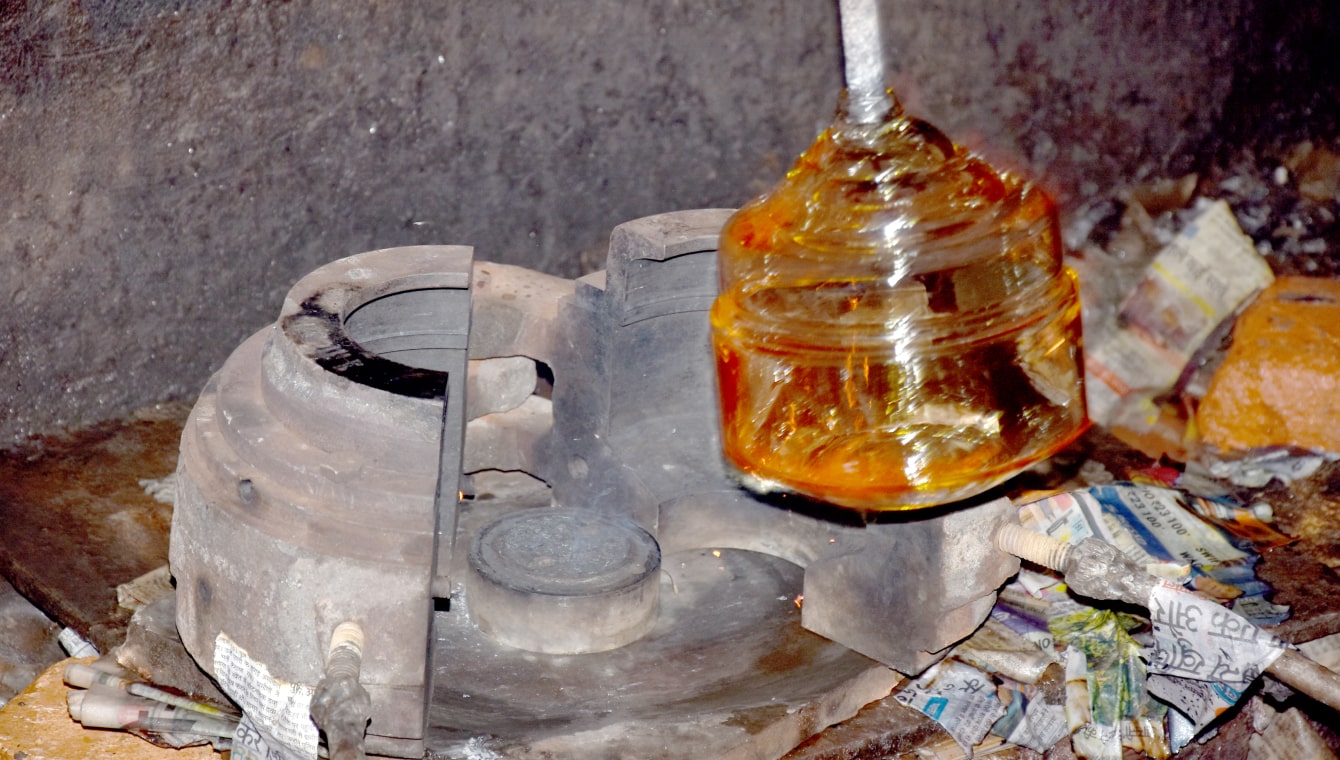
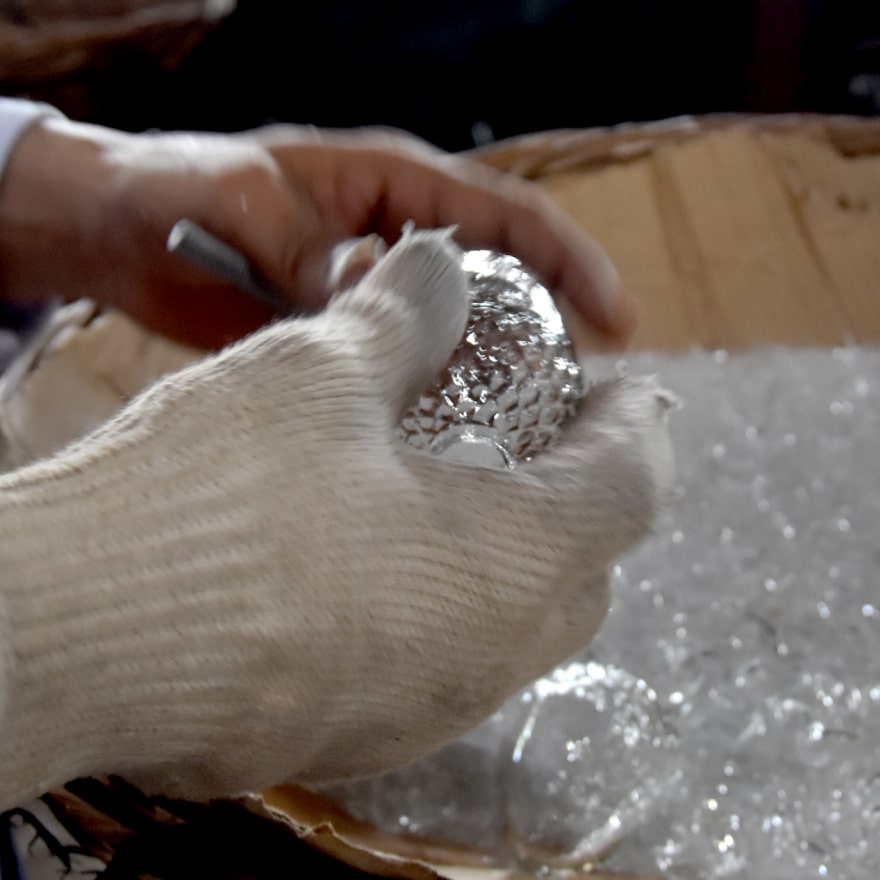
The next step is using the optic mold to add shape and texture to the glass.
Quite a few of our ornaments use “pineapple mold”. Which is not for taste! It’s called pineapple mold for its pineapple-like texture.
The next step in shaping is once the mold is applied to use the jack, which is essentially a large tweezers to create a line at the bottom of the ornament creating a “neck”, while keeping the top of the glass round.
Remove Glass From The Blowpipe:
Once the ornament is shaped its time to knock it off from the neck.
This is done using a tools called a “diamond sheers”
While holding blow pipe vertically, with the ornament facing down into a piece of felt.
The felt will catch the ornament once it is knocked off the neck.
The glassmiths uses the diamond sheers to touch off the neck line created by the jack, they will gently touch it around the neck going around the full ornament at least twice.
Then using the sheers just tap the back of the ornament knocking it off into the felt.
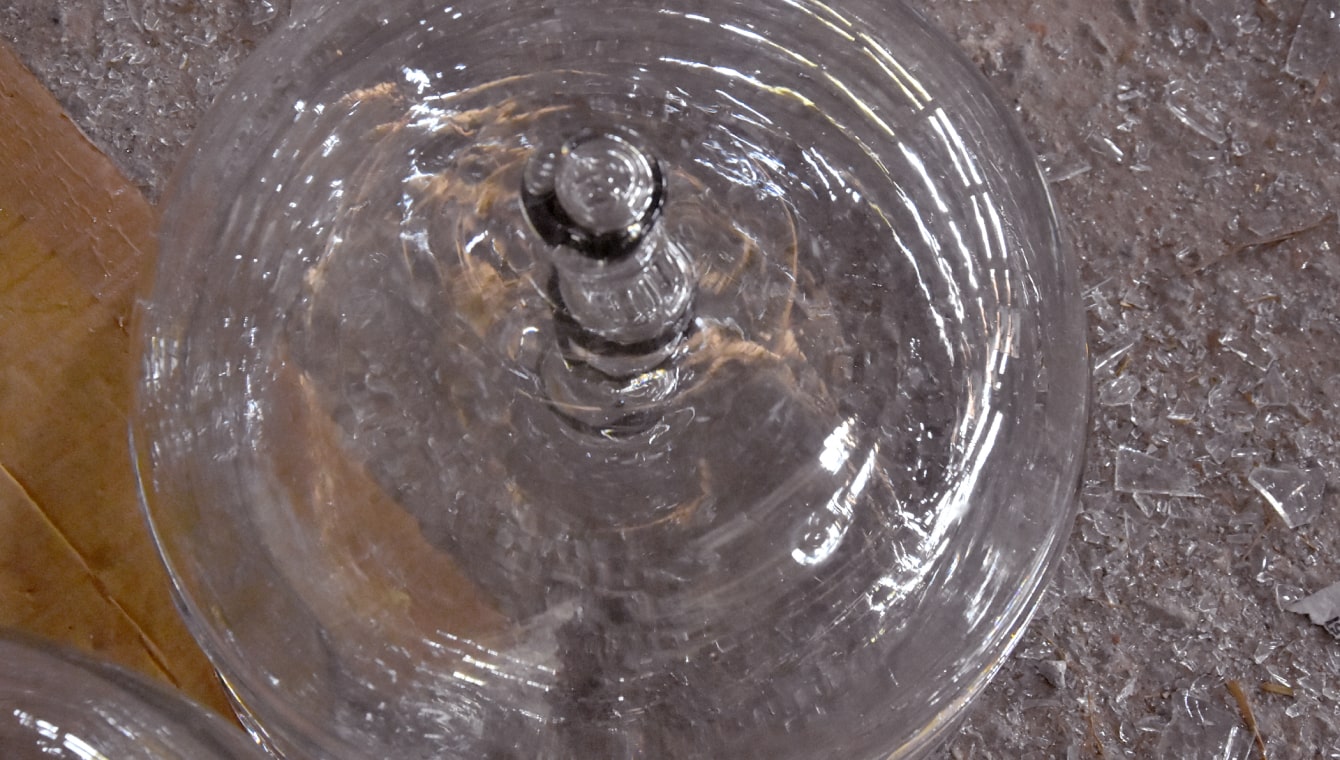
Add The Cap:
When the ornament is in the felt with the hole from the neckline facing up, the glassmith will then add the final piece which is the glass cap.
While its also possible to finish the ornament here and add a metal or plastic insert into the hole, it looks a lot more stylish to finish with glass.
Piping hot glass is taken on the pipe and pressed gently over the hole to compress the glass creating a nice base. Any excess glass is then compressed further to cover the hole and create a nice tight base.
Generally a hole is punctured where the hook or metal finish will go to hang the finished piece.
Finishing:
Now the ornament is shaped and almost ready, its to put it into an annealer.
An annealer is used to cool the glass slowly so it won’t crack or damage during the cooling process. If it was left to cool at room temperature all that hard work would risk being lost.
So there we go. That’s just an example of one of our many glass-blown designs.
If you want to see our glass baubles be sure to check out our bauble collection below.


Explore Other Craft Techniques
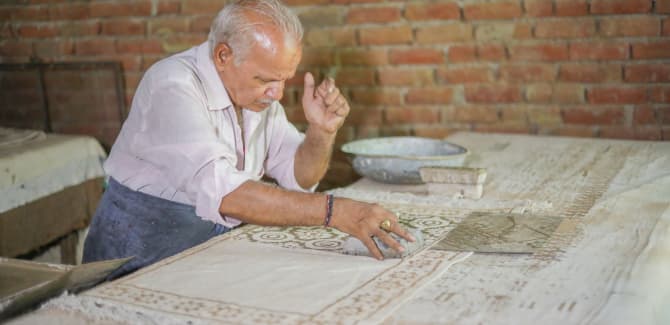
Block Printing
Block printing is the process of printing patterns by means of engraved wooden blocks. It is the earliest, simplest and slowest of all methods of textile printing...
FIND OUT MORE
Tiffin Box
Discover the origin and craft of our Indian Tiffin Boxes. Each of our Tiffin Boxes are handcrafted and handpainted by expert artisans...
FIND OUT MORE